  |
|
1 2 3 4 5 6 7 8 9 10 11 12 13 14 15 16 17 18 19 20 21 22 23 24 25 26 27 28 29 30 31 32 33 34 Click on map arrows to navigate
|
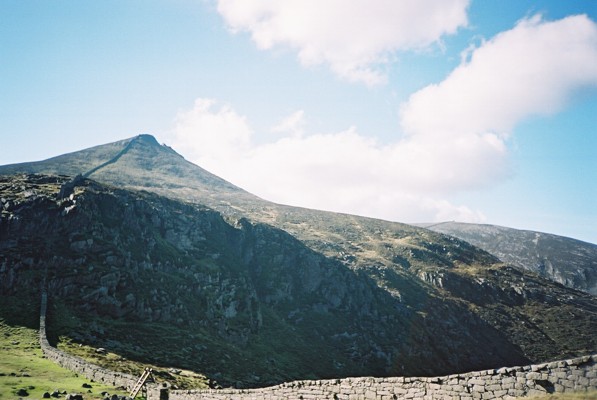
23. This picture is taken from Hares Gap/lower steps of Slievenaglogh, looking back towards the lower precipitous section of Slieve Bearnagh as it joins the Hare’s gap. The North tor of Slieve Bearnagh is in the background. Photo 21 clarifies this view showing this North Tor with the main summit behind. |


